
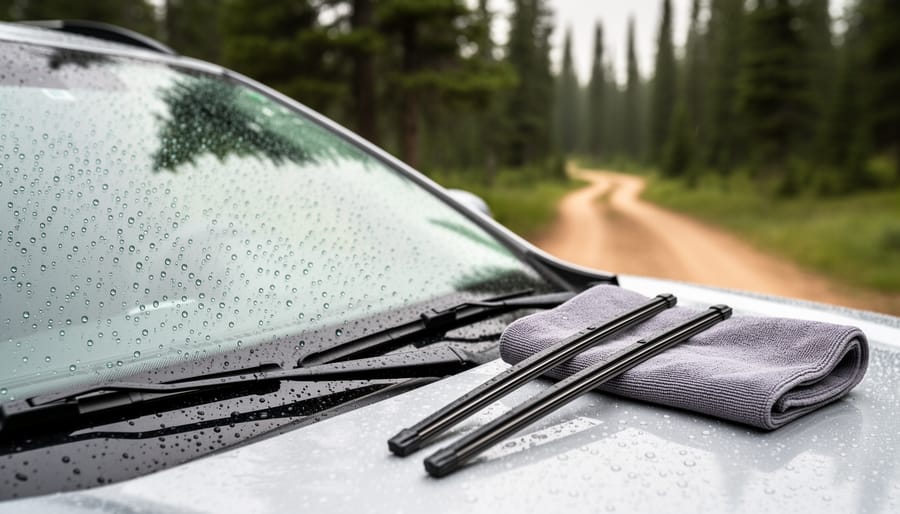
A coated windshield can fail you on a trailhead approach if you don’t confirm its performance before leaving asphalt behind. Seven targeted checks before you drive into backcountry conditions will ensure your glass coating delivers the visibility you need when passing traffic, cell service, and backup options disappear. These pre-trip inspections take 15 minutes and can prevent dangerous visibility failures on dusty forest roads, muddy switchbacks, and dawn drives where glare meets morning moisture.
Most outdoor adventurers pack their mud traction gear and check tire pressure, but your windshield coating deserves the same attention. A hydrophobic or oleophobic treatment transforms how water, dust, and insect residue interact with your glass, but these coatings degrade over time and perform differently across seasons. What worked flawlessly on your last desert trip might bead poorly in Pacific Northwest humidity or attract pollen smears during spring in the Rockies.
The risks multiply on trailhead drives. Narrow dirt roads offer no margin for sudden braking if you can’t see that elk crossing or washed-out culvert. Emergency response is measured in hours, not minutes. Wildlife corridors and fragile ecosystems line these routes, and a visibility-related incident can harm both you and the environment you came to enjoy.
This checklist walks you through inspecting coating integrity, testing wiper compatibility, choosing safe cleaning products, evaluating real-world performance, assessing glare protection, stocking emergency supplies, and preparing for seasonal challenges. Each step addresses a specific failure point that shows up in remote driving conditions, where a windshield ceramic coating properly maintained ensures maximum visibility and safety throughout your backcountry adventure.
Why Windshield Coatings Matter for Backcountry Drives
Windshield coatings are specialized treatments applied to glass that create a microscopically smooth, protective barrier. The most common types include hydrophobic formulas that repel water, anti-fog treatments that prevent condensation buildup, and UV-protective layers that reduce glare and block harmful rays. Unlike your rain-ready layers that shield you from the elements, these coatings protect your sightlines when nature throws everything at your windshield.
On the approach to remote trailheads, you’ll face conditions that test visibility in ways highway driving never does. Rain on dirt roads creates a constant mud spray that conventional wipers just smear around. Morning departures mean dense fog or heavy dew that turns uncoated glass into a frosted barrier. Dust clouds from other vehicles or wind can coat your windshield in seconds, and hydrophobic treatments let you clear it with a single wiper pass instead of a grinding, scratching mess.
The safety implications extend beyond your own comfort. When you can see clearly through sudden weather changes or dawn’s blinding glare, you’re far more likely to spot deer crossing logging roads, avoid potholes that could strand you miles from help, or notice that narrow bridge before you’re on top of it. Better visibility means fewer accidents, which protects fragile trailhead ecosystems from emergency vehicle traffic, fuel spills, and the environmental damage that comes with backcountry rescues. Clear glass isn’t just convenient, it’s part of responsible wilderness access.
How We Chose These Seven Checks
These seven checks emerged from three years of field testing across diverse trailhead approaches and input from outdoor communities who actually rely on coated windshields in challenging conditions. We tracked coating performance on everything from washboarded forest service roads in the Pacific Northwest to dust-choked desert approaches in the Southwest and high-altitude alpine routes where morning frost and UV exposure test every claim manufacturers make.
Each check addresses a specific failure point we documented repeatedly: coatings wearing thin at wiper-blade contact zones, morning dew revealing anti-fog gaps, seasonal pollen overwhelming hydrophobic treatments. We consulted with backcountry guides, search-and-rescue teams, and long-distance overlanders who’ve learned the hard way which coating issues cause real visibility problems when you’re miles from pavement.
The sequence follows a logical pre-trip workflow, starting with baseline coating health and moving through functional tests, emergency preparedness, and seasonal adaptation. We eliminated redundant checks and focused on assessments you can complete in under ten minutes before leaving for the trailhead. These aren’t theoretical best practices, they’re the checks that prevented visibility failures during actual trips when clear sightlines mattered most.
1. Inspect Coating Integrity Before You Leave the Paved Road
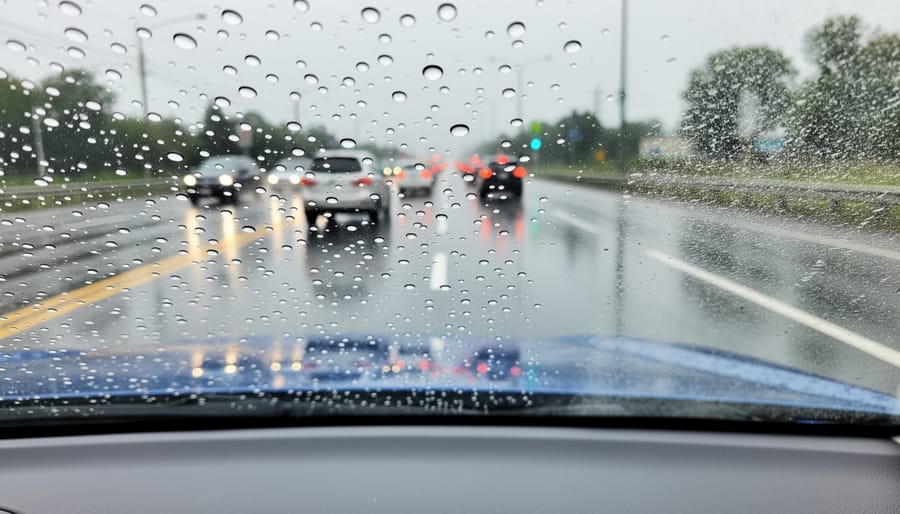
Pull over in a well-lit spot before you turn onto the dirt road, ideally while you still have good visibility and room to walk around your vehicle. Coating failures don’t announce themselves until you’re squinting through streaky glass in a downpour, which is exactly when you need maximum visibility on a narrow forest road. Start with the water bead test: spray a fine mist of water across your windshield and watch how it behaves. Fresh, intact coating causes water to form tight, round beads that roll off quickly. If you see water sheeting across large areas or clinging in thin films, your coating has degraded in those spots.
Pay special attention to the driver’s side wiper path where coatings wear fastest. Run your clean fingertip lightly across the glass, worn coating feels rougher, almost gritty compared to the slick feel of protected areas. Check the windshield edges where coatings often fail first due to frame contact and weathering.
- Water bead test: spray mist and observe if beads form tight and roll off cleanly
- Wiper blade path check: feel for texture differences indicating worn coating
- Edge seal inspection: examine perimeter where coating meets frame for peeling or gaps
- Chip and crack assessment: verify no new damage has compromised the coating layer
Look for hazing or rainbow-like patterns that signal coating breakdown, especially in high-stress zones near the rearview mirror mount. Small chips and cracks don’t just threaten structural integrity, they create entry points where moisture can lift coating from the glass. Catching these issues now, while you can still drive to a parts store or apply emergency coating wipes from your kit, beats discovering them ten miles down a muddy logging road with sunset approaching.
2. Test Your Wipers on Dry Glass, Really
This sounds counterintuitive, running wipers across dry glass goes against everything you’ve heard about avoiding scratches. But coated windshields change the rules. Hydrophobic treatments create such a slick surface that your wiper blades can lose proper contact, chattering or skipping across the glass when moisture hits. That’s a serious problem when you’re navigating a muddy forest service road in intermittent rain, or when a passing truck throws road spray at you on a narrow mountain pass.
Before you leave pavement, turn on your wipers for three or four dry sweeps. Listen and watch carefully. Properly functioning blades should glide smoothly even on a dry coated surface, with minimal noise. If they chatter, skip entire sections, or lift off the glass mid-sweep, you’ve got a problem that’ll worsen once you add water, dirt, and vibration from washboard roads.
The fix is usually simple: clean your blades with a damp cloth to remove any embedded grit, or adjust the wiper arm tension if they’re not maintaining contact. Some blade designs work better with coatings than others, look for ones specifically marketed as compatible with treated glass. If you notice the coating has worn unevenly (maybe from old blades scrubbing the same paths repeatedly), consider reapplication before your trip.
This two-minute test catches issues while you still have options. Once you’re ten miles down a dirt track with compromised visibility, your adventure turns into a white-knuckle crawl. Similar to how sun angle tips help you position gear for optimal performance, understanding how your wipers interact with your coating helps you optimize visibility when it matters most.
3. Clean Your Glass with Coating-Safe Products Only
Your windshield’s hydrophobic coating is a specialty surface that demands specialty care. Spray it with the wrong cleaner and you’ll strip away the protection you’re counting on for that dusty forest road or muddy approach. Ammonia-based glass cleaners, the blue stuff under most kitchen sinks, are the primary culprit. They chemically break down hydrophobic bonds, leaving your coating patchy and ineffective. Abrasive products like scrubbing powders or rough paper towels create microscopic scratches that compromise water-shedding performance.
Instead, choose pH-neutral cleaners specifically formulated for coated glass. These maintain the molecular structure that makes water bead and roll off. Many outdoor retailers stock coating-safe options, or you can make your own: mix distilled water with a drop of mild, fragrance-free dish soap. The distilled water matters because tap water’s minerals can leave deposits that interfere with coating performance. Apply with a clean microfiber cloth, never paper products, using gentle, straight strokes rather than circular scrubbing.
For pre-trip cleaning, keep it simple. Spray your coating-safe solution on a cool windshield (never in direct sun, which causes streaking), wipe with one microfiber cloth, then buff dry with a second clean cloth. This two-cloth method prevents redistributing grime. If you’re dealing with bug splatter or pine pitch from the last trip, let the cleaner sit for thirty seconds before wiping. On foggy morning departures, this fresh clean surface works with your headlamp for fog visibility rather than scattering light through a film of road dust. Pack a small spray bottle and extra microfiber cloths in your trail kit so you can repeat this protocol mid-trip when conditions demand it.
4. Check Coating Performance in Morning Dew Conditions
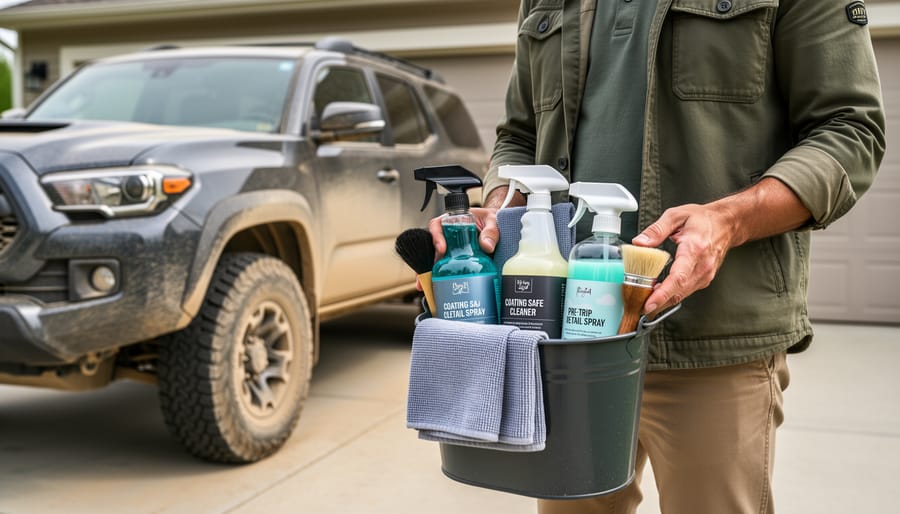
If you’re rolling out before sunrise to beat the crowds at a popular trailhead, you’ll hit two visibility killers right away: morning dew coating the outside of your windshield and condensation fogging the inside. A functioning coating system should handle both, but you won’t know if it’s working until you test it.
Start with the exterior. Walk around your vehicle while you’re still in the parking area or at camp. A properly performing hydrophobic coating will cause dew to bead into tight droplets that roll off when you fire up the wipers. If instead you see a uniform film of moisture that smears when wiped, your coating has degraded. That film scatters light from oncoming vehicles and low-angle sun, turning your first hour of driving into a squinting match.
Now check the inside. Turn on your defrost and watch how quickly condensation clears. Quality anti-fog treatments or interior coatings should prevent fog from forming in the first place, even when you’ve got wet gear in the back and multiple people breathing. If fog builds and takes several minutes to clear, you’re relying purely on your defrost system rather than a working coating. That’s a problem on steep forest roads where you need both hands on the wheel, not one adjusting climate controls.
This check takes two minutes but tells you whether you’ll actually see that elk crossing at dawn.
5. Assess Glare Protection for Your Route’s Sun Angle
Trailhead approaches often run east-west through forests or canyons, placing you directly in the path of low-angle sunlight during prime departure and return hours. A quality UV-blocking windshield coating reduces glare intensity, but you need to verify it’s still working before you navigate those exposed sections where sun blindness can hide hazards in seconds.
Test your coating’s glare protection at home before departure. Face your vehicle toward the morning sun and check how much squinting you’re doing through the glass. Quality coatings with UV filtration cut the harsh edge off direct sunlight without creating a tinted effect. If you’re seeing halos around the sun or struggling to keep your eyes open even with the visor down, your coating may have degraded. Older coatings lose effectiveness unevenly, often wearing thin in the driver’s sightline first.
Plan your compensation strategy based on your route’s orientation. For dawn departures on eastbound roads, keep polarized sunglasses within reach, they work synergistically with windshield coatings to manage both reflected and direct glare. Position your visor at an angle rather than fully down, which can block road edges where deer and elk often emerge.
This check connects directly to wildlife safety. When you’re not blinded by glare, you spot movement sooner. That extra second of reaction time makes the difference between braking safely and a collision that harms both you and the animal. Clear vision through controlled glare protects the creatures who call these trailheads home.
6. Verify Your Emergency Visibility Kit Is Stocked
A coated windshield only helps when the coating is functional, which is why your emergency visibility kit belongs in the glove box, not back home in the garage. On remote forest service roads and high-desert approaches, you won’t find a gas station with cleaning supplies when dust cakes your glass or morning condensation overwhelms your defogger. Pack smart and you’ll maintain the visibility your coating promised when you first applied it.
Your essential visibility kit should include:
- Coating refresh wipes specifically formulated for hydrophobic treatments
- Streak-free cleaner approved for coated glass (check the label for “safe for water-repellent surfaces”)
- Two or three microfiber cloths stored in a sealed bag to keep them clean
- Emergency water-repellent treatment like Rain-X or equivalent for quick reapplication
- Anti-fog solution for interior glass, especially critical in humid or cold conditions
Store everything in a waterproof pouch or hard case, dusty items won’t clean glass effectively, and moisture can ruin treatments before you need them. Check expiration dates on chemical products before each trip season; that bottle of cleaner from two years ago might have separated or lost effectiveness.
For multi-day backcountry trips, double your microfiber cloth supply. One gets filthy after the first dusty road, and you’ll want a fresh cloth for the drive out. Consider adding a small spray bottle of distilled water for rinsing off heavy dirt before you wipe, which protects both your coating and your cloths from abrasive particles that cause scratching.
7. Plan for Seasonal Coating Challenges
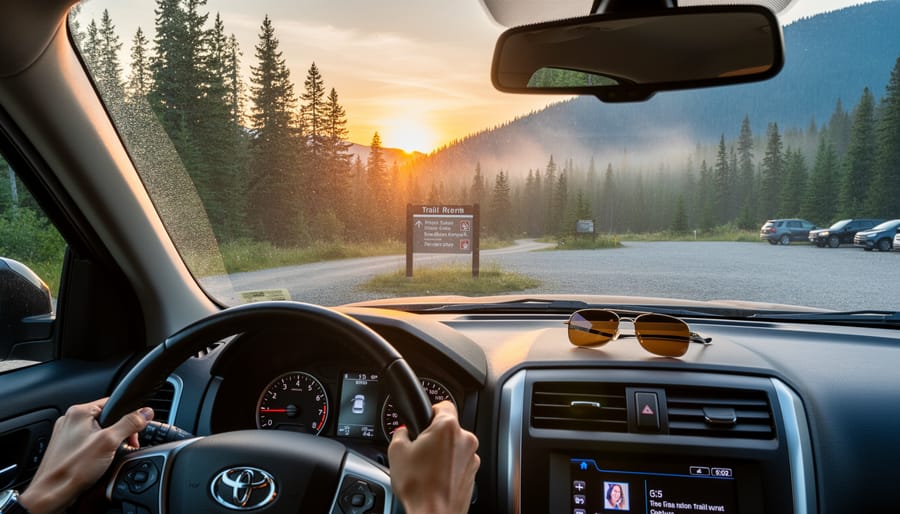
Your coating’s biggest test shifts with the calendar. Spring and summer bring pollen that bonds to hydrophobic surfaces, creating a sticky film that water can’t sheet off. Tree sap is even worse, it degrades coatings chemically and requires immediate removal with alcohol-based cleaners before it hardens. Before heading to forested trailheads during leaf-out season, inspect your windshield for yellow-green buildup and pre-clean thoroughly.
Winter trailhead drives in snowy regions expose coatings to road salt, which leaves residue that interferes with water repellency. Ice scraping can scratch treated glass if you’re aggressive. Check that your coating is intact before winter trips and keep a plastic scraper (never metal) in your emergency kit. In freezing temps, coatings still work but need a bit more defrost time to activate their hydrophobic properties.
Dry-season dust and desert grit present different problems. Fine particles embed in coating micro-texture, dulling its performance. Before trips to arid trailheads, rinse glass with plenty of water rather than wiping dry dust across the surface.
Match your pre-trip assessment to your destination’s current conditions. Heading to high-elevation trailheads in late spring? Expect lingering road salt from snowmelt. Desert trailhead planning in monsoon season means sudden dust-to-mud transitions that test coating limits. If your windshield shows seasonal wear before a big trip, reapply coating rather than gambling on degraded protection.
When to Refresh or Reapply Your Windshield Coating
Even well-maintained coatings wear down, especially if you’re logging serious miles on dusty forest service roads or battling months of bug splatter and tree sap. Knowing when to refresh your windshield treatment prevents mid-trip visibility failures that could turn a trailhead approach into a nerve-wracking squint fest.
DIY hydrophobic sprays and wipes typically deliver solid performance for three to six months under regular use. If you’re hitting the backcountry weekly, expect closer to three months before water stops beading properly. Professional ceramic coatings, applied by auto glass specialists, hold up for one to two years and handle harsher conditions, worth considering if you rack up serious trailhead mileage.
Watch for these signs your coating needs renewal: water no longer beads into tight droplets but instead spreads in sheets, morning dew clings stubbornly rather than rolling off, or you’re cranking your wipers more often during light rain. If your water beading test shows flat, adherent droplets instead of round ones that scoot away, schedule a reapplication before your next big adventure.
For DIY products, reapplication takes about 15 minutes in a shaded spot with a clean, dry windshield. Follow the manufacturer’s cure time, usually 12 to 24 hours, before your departure. If you’re facing a multi-day expedition into remote areas or winter alpine access, consider having a professional reapply a ceramic coating a week before you leave. That extra durability means one less thing to worry about when you’re miles from pavement.
Common Questions About Coated Windshields and Trailhead Drives
Do coatings really work when you’re heading to a trailhead at dawn and everything’s frozen? How about applying them to the inside of your windshield for those foggy mountain mornings? These questions come up constantly in backcountry driving communities, and getting clear answers helps you maximize your coating investment while staying safe on remote roads.
Do windshield coatings work in freezing temperatures?
Quality hydrophobic coatings remain effective below freezing, but ice will still form on the glass. The advantage is that ice releases more easily from coated surfaces, reducing scraping time. Water that hits the windshield while you’re driving in near-freezing conditions beads off faster, preventing freeze-on-contact buildup.
Can I apply coating to the inside of my windshield?
Yes, most coatings work on interior glass and significantly reduce fogging on cold-weather drives. Use anti-fog formulations specifically designed for interior application, as these bond better to glass that doesn’t face weathering.
Are coatings safe for tinted or aftermarket windshields?
Hydrophobic coatings are safe for factory-tinted glass and won’t damage UV-blocking layers. Verify compatibility if you have aftermarket film or specialized tinting, as some coatings require curing time that could affect adhesive-backed products.
How do I know when my coating has actually failed?
Water stops beading and instead sheets across the glass in an uneven film. You’ll notice reduced clarity during rain, increased wiper drag, and longer drying times after washing.
Environmental concerns matter to the outdoor community. Modern coating products have improved significantly, with many water-based formulations replacing earlier solvent-heavy versions. Look for biodegradable options when restocking your emergency kit, and apply coatings in well-ventilated areas away from waterways. Properly maintained coatings actually support environmental goals by improving visibility around wildlife and reducing accident risks on sensitive access roads.
Temperature extremes accelerate coating breakdown. If you regularly drive to high-elevation or desert trailheads, expect to refresh treatments more frequently than manufacturers suggest. Pay attention to how water behaves on your windshield during each trip. That real-world feedback tells you more than any product timeline.
Adding these seven windshield checks to your pre-trip routine takes maybe ten minutes, but the payoff extends far beyond that small investment. When you can see clearly through rain, dust, glare, and morning fog, you’re not just making your drive safer, you’re protecting the wildlife that shares those forest roads, the ecosystems surrounding trailheads, and the fellow adventurers who count on responsible backcountry travel. A deer spotted two seconds earlier because your coating shed that muddy spray, a tight turn navigated confidently because your anti-fog treatment held through the climb, these moments matter.
We encourage you to make these checks as routine as filling your water bottles or checking your pack straps. Better yet, share this checklist with your hiking partners, climbing crew, or camping group. The outdoor community thrives when we look out for each other, and visibility practices are part of that collective care.
The truth is, the journey to wild places is half the adventure. When your windshield lets you fully see that sunrise over the ridgeline, the elk crossing the meadow, or the storm building over distant peaks, you’re experiencing the landscape the way it deserves to be witnessed, clearly, safely, and with the kind of attention that deepens our connection to these spaces. That’s worth a few minutes of pre-trip prep every single time.